- Home
- Compare Systems
- Cheap Systems
- Free Quotes
- DIY Systems
- Hardwired Systems
- Wireless Systems
- Smoke Detectors
- Medical Alarms
- Alarm Monitoring
- Cameras & Video
- Ademco
- ADT Security
- Brinks Security
- Broadview
- DSC Security
- FBI Alarms
- GE Security
- Honeywell
- Link Interactive
- Monitronics
- Moose
- Napco
- Protection 1
- Radionics
- Simplisafe
- Alarm Manuals
- Alarm System Parts
- Alarm Tools
- Troubleshooting
- FAQ
- Glossary
- Sitemap
- About Me
- Contact Me
Magnetic Reed Switch
Re-Installation DIY
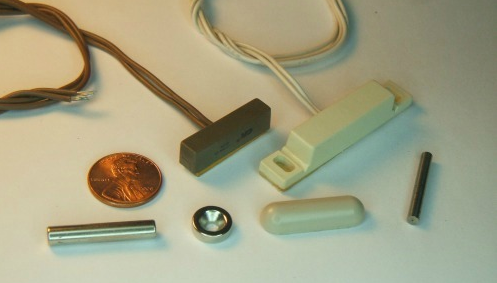
Most hardwired alarm systems use a magnetic reed switch on each door and
window. These come in many styles to match the wide variety of doors
and windows available, but all operate on the same principal.
An
electrical circuit is closed when a magnet is near the switch,
indicating the opening is shut. Opening the door or window breaks the
connection, signaling the main alarm panel.
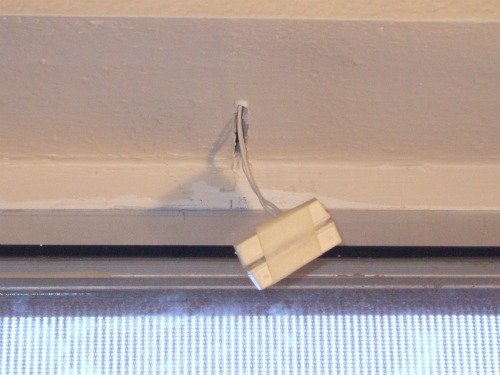
Upgrading the windows in a home to energy efficient units is becoming more popular. If the house has a wired alarm system, any
magnetic reed switches must be removed.
You can have your alarm company do the removal of the switches, or you can do it yourself. Check out
Reed Switches Removal DIY.
After the new windows are in, the sensors must be
re-installed. Then, magnets must then be mounted in proper alignment
with the sensors.
Read on to see how you can re-install alarm sensors after upgrading to new energy efficient windows.
Magnetic Reed Switch Prep
To re-mount a magnetic reed switch, first clean the areas on the frame where the switch and magnet will go. A damp paper towel works well for this. Cleaning the frames first will allow them to be totally dry by the time you finish the next step.
Remove any sticky tape residue from both switch and magnet. Use
your thumbnail, or a small screwdriver can be used as a scraper to get
the stuff off.
If clear silicone was used, be sure to get all of it off. If needed, use rubbing alcohol to remove the greasy film left by
silicone sealers, since nothing will stick to it. Failing to do this could end with the switch or magnet falling off.
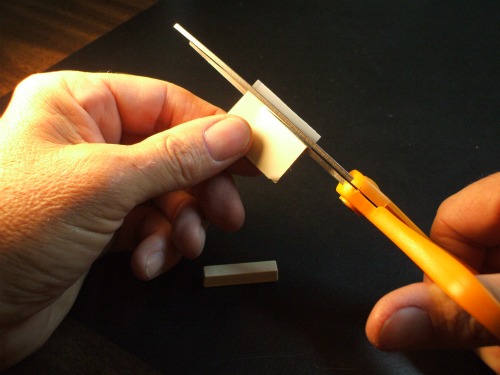
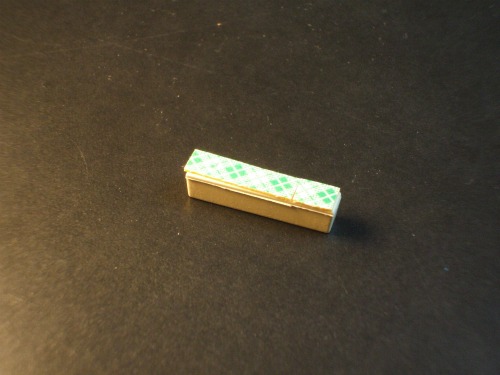
Apply fresh double-sided tape to both the sensor and magnet. Use the magnet to “stamp” an outline into the new tape. Then, follow the outline with scissors to cut out the exact-size piece for the magnet.
Make a second piece for the switch. Most magnet/switch sets have identical footprints, and use the same size tape. If any of yours aren’t, just make the correct size by stamping it.
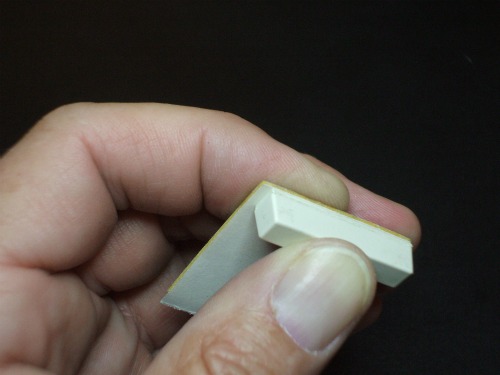
Peel and stick new tape to each part. Before mounting the switch, leave the backing on the tape. Position the switch in a spot near the edge of the fixed frame, closest to the moving section of the window. Try to find an area where the switch sits flat and the tape will have full contact.
Testing the Location
Next, we need to find out if the magnet will reliably trigger the contact.
The easiest way to do this is to use the alarm’s chime feature. First, turn on the chime function using the alarm keypad.
Next, hold the switch in place, and move the magnet to a spot on the
moving portion of the window, nearest to the switch. Move the magnet
slowly away. Listen for the chime tone; this is the point where the
circuit opens, or “breaks”. Repeat this several times. Notice the
distance between the switch and magnet when the chime sounds.
This is the “break gap”. Make sure the final installed spacing will be smaller than this gap measurement.
Switch Mounting
When you’ve found a good spot, peel the backing from the tape and stick only the magnetic reed switch to the frame. Press it firmly in position, and move on to mounting the magnet.
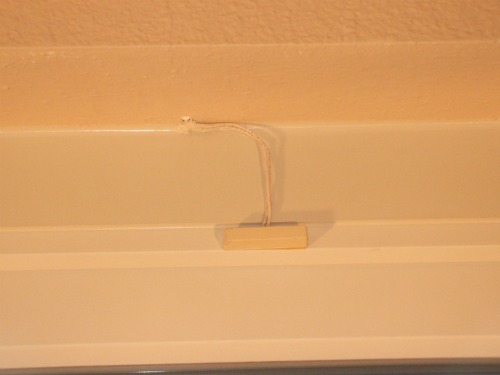
Open and close the window firmly a couple of times. Try pulling the window in the opening direction, but without releasing the latch.
You’re looking for any excessive play or slop. Anything less than a quarter inch is fine, and with new windows, it will probably be even less.
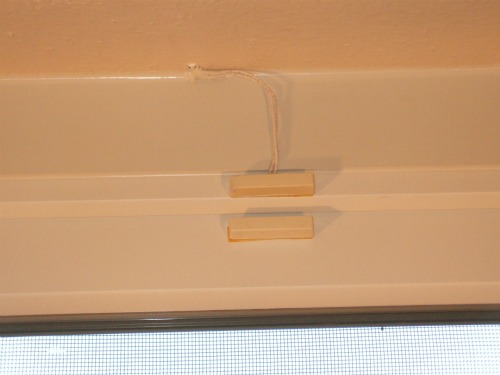
With the window fully closed and latched, line the magnet up with the switch. Then, peel off the backing and stick the
magnet in position.
Press it firmly in place, then open the window all the way. Check for any interference between the switch, magnet, and frame parts. If anything doesn’t line up, remove and relocate the magnet or switch to allow clearance. If the tape loses its stick, just remove it and cut out a new piece.
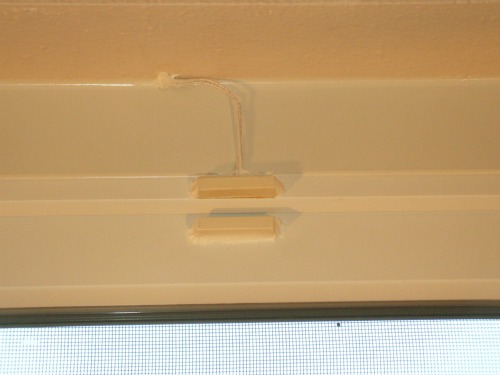
After everything is in position, apply a bit of latex caulking to
each switch and magnet, where it meets the frame. This will keep it in
place if the double-stick tape loses its grip, and is cheap insurance
against a false alarm.
If there is a notch in the drywall for the wire, patch it with
lightweight spackle from your nearest home center. If needed, paint to
match.
A sliding opening like the window shown here can often be made into a vent zone. This feature allows the window to remain partially open, even with the alarm system armed. Learn more about setting up a vent zone.
If you’ve replaced a previously movable window with a fixed unit, you’ll need to terminate the wire.
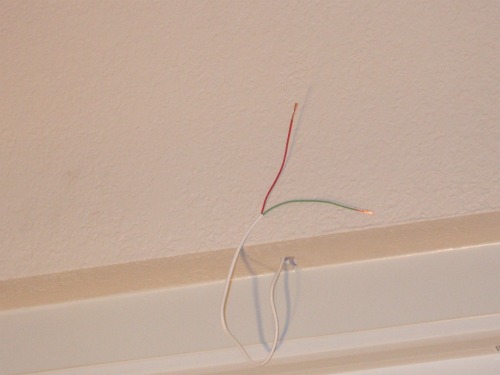
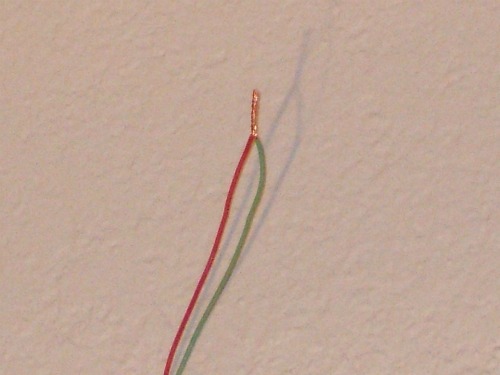
Cut the wire off, saving the magnetic reed switch and magnet. Strip back about a half-inch of insulation, then twist the bare copper conductors together.
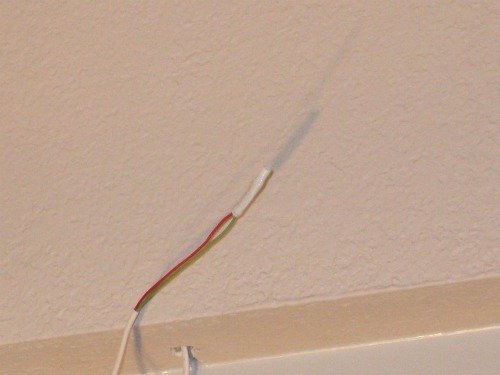
Finish it with solder and electrical tape or a crimp-type connector, then feed the wire back into the hole in the header or sill. Patch the hole with spackle and touch-up paint.
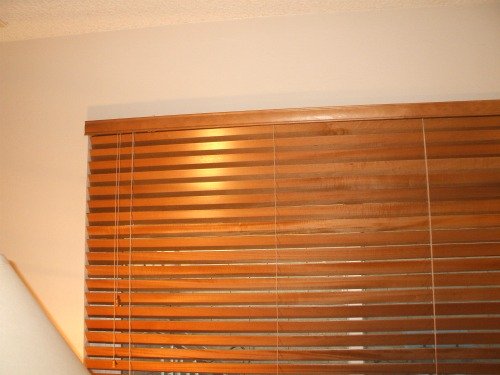
Re-install the window covering. With luck, you may be able to simply re-install the brackets in their original spots, and re-hang the blinds. With less luck, you may need to reposition the brackets to clear the new window.
With rotten luck, the blinds won’t fit inside the window
opening at all. This requires replacing the blinds with a new set to be
mounted outside the opening.
Changing to energy efficient windows will be saving you money for years to come. By completing this DIY alarm project you’ll save even more, and maybe even feel a bit of satisfaction in doing the job yourself.
For some examples of available window and door sensors, see this page on Honeywell Switches.
For garage protection, see these articles:
Connecting a Garage Door Contact to a Home Security System.
The Best Overhead Door Contact Mounting Locations.
For tips on how to run new wiring, see Burglar Alarm Wire for Protecting Windows.
If the "do-it-yourself" approach doesn't work for you, get free price quotes on an alarm system by answering a few quick questions below.
Return to Home-Security-Systems-Answers from Magnetic Reed Switch Re-Installation DIY
Return to DIY Home Security Systems from Magnetic Reed Switch Re-Installation DIY
Note: Feel free to print any of the articles on this site for personal, non-commercial use. Just look for this button:
If you found this website especially helpful, you might want to consider making a small donation. Since 2011, AzAlarmGuy has been providing free help and advice on home security systems to all of those in need.
Your gift, in any amount, will help me keep this website a free resource for anyone needing help with alarm system issues or questions.
Disclosure
I receive affiliate commissions from some of the companies and products I discuss. These commissions don't change the price that you pay.
Rest assured that this compensation does not influence my recommendations. I only endorse products and services that I truly believe to be an honest value for you, as a visitor to my site.
For more details, see my full disclaimer.


